
Just the other day, I saw somebody searching for a person who could create a favicon for their blog.
A favicon is the picture, you see in the Address bar of a browser, and if somebody bookmarks that page on their computer, the icon will show up under Bookmarks as well.
Actually, it’s not that hard to make, if you just know how.
Get a Picture
Your first duty is to find a fitting picture, you can use as favicon. Size doesn’t matter, except that square is better. Find something simple, as the finished icon will be very small, and all details will get lost.
I created this simple picture, which I’ll try to use as favicon.
![]()
Visit This Site
When you’ve found or created you image, go to http://www.html-kit.com/favicon/
Browse on your hard-disk for your image, and click on Generate Favicon.ico.
That’s it! You can now download a zipped file with your favicon if you’re satisfied with the way it looks in the preview.
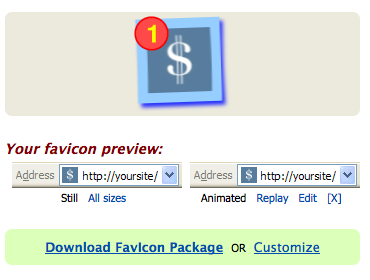
After you’ve downloaded the favicon package, you need to upload it to your server, and to insert a code in your HTML to tell the browser that you now have a favicon, ho-ho-ho!
Just to the right of the picture of your icon, you will find the code, you have to put inside your header. If you’re using WordPress for your blog, you can go to your Dashboard, and choose Appearance → Editor. Find the Header, and insert the code just before </head>.

Use an FTP program to upload your favicon.ico and maybe even the animated one to the root of your domain. And enjoy the result 🙂
Watch the video walk-through below.
Thanks for the tips. Super idea. I just added it to my blog. Makes it far more personal.
Super tip Britt. Just added a favicon to my blog.
Nicely explained and a great tip – many businesses don’t realise the value of a favicon.